Why Jewelry Reflects Everything
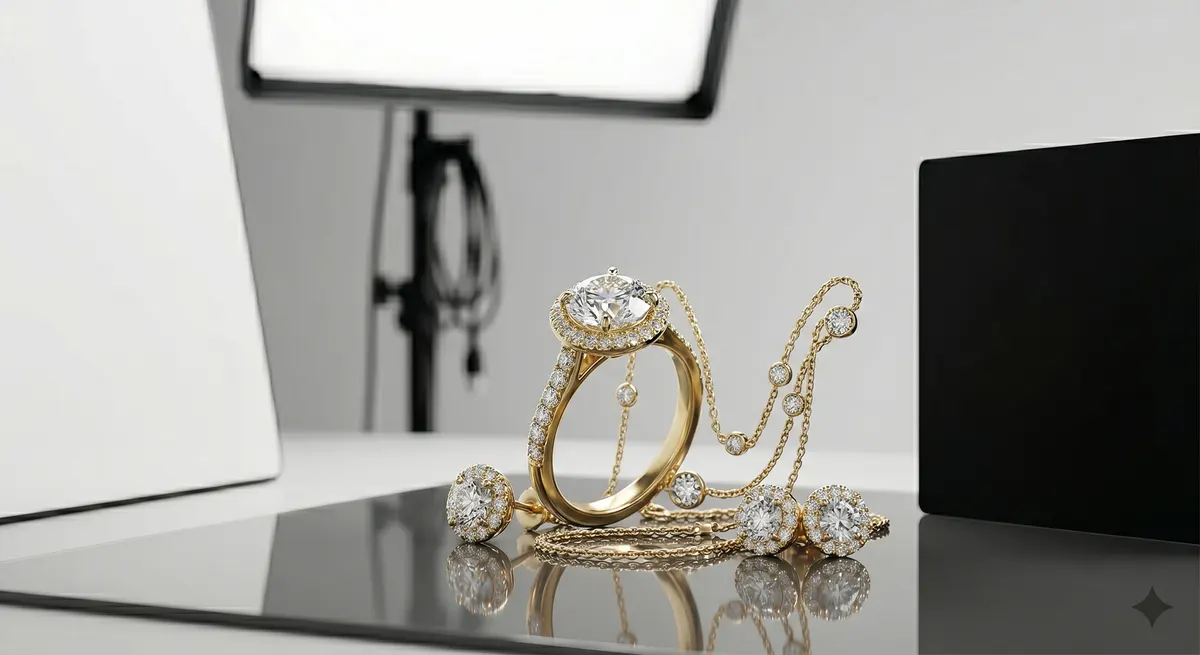
Polished metal is essentially a mirror - it records whatever is around it. Point a camera at a bare gold ring on a white table and you will see ceiling lights, your own reflection, window frames, and a pale rectangle where the camera lives. None of that was on the ring when the customer held it; all of it appeared the moment you aimed a light at it.
The good news is that reflections follow rules. A curved surface reflects a wide angle of the room; a flat facet reflects a narrow angle. Once you internalize the phrase “what does the metal see right now?” you can predict and fix every hot spot before you press the shutter.
Key takeaways
- Diffuse every light source so no bare bulb reflects in the metal
- Use black and white flag cards to shape what the surface mirrors
- Control the whole room, not just the light itself
- Cross-polarize for gemstones that blow out to featureless white
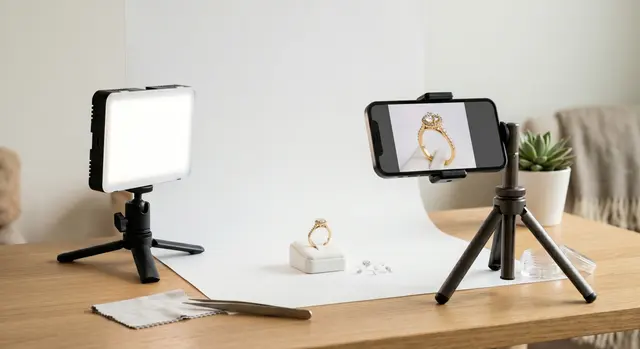
Diffuse Every Light Source
The single most important step is to make sure no bare bulb can reflect in the piece. A naked LED or a flash head without a modifier appears as a bright, harsh point in polished metal. Replace it with a large, soft source.
- Softbox or octabox - shoot through one that is at least 60 cm / 24 in on its shortest side. The larger the source, the softer and more gradual the highlight.
- Diffusion panel - a white ripstop or silk panel stretched over a frame gives an even, window-like source at low cost.
- Bounce off white card - the ceiling is too far away; a large white foam core sheet close to the jewelry works well for tabletop work.
Softbox or octabox
No bare bulb should ever reflect in the metal. Aim for at least 60 cm on the shortest side.Diffusion panel
A ripstop or silk panel over a frame gives an even, window-like source at low cost.Black flags
Add crisp dark edge reflections that read as polished and three-dimensional.Light tent
Full fabric enclosure for the trickiest highly polished pieces.Shape Reflections With Flag Cards
Once your light is diffused, you still have to manage what else the metal can see - the dark space around the diffusion panel, your clothing, and the far side of the room. This is where flag cards do their work.
Black flags absorb light. Placing a small black card just out of frame opposite the main light creates a crisp, dark edge reflection that makes metal look polished and three-dimensional. On a ring shank or a bracelet curve, that dark stripe is the detail that reads as “luxury.”
White flags fill light. A white card on the shadow side of the piece bounces a gentle fill reflection that keeps the metal from going completely flat.
Start with both flags off the set, then introduce them one at a time while watching the camera’s live view. Move each card a centimeter at a time - the effect shifts quickly on curved surfaces. Tweezers and cotton gloves are non-negotiable here; finger oils leave marks that read worse than the reflections you just fixed.
The Light-Tent Method
A light tent (also called a cube tent or lightbox) is a fabric cube with diffusion panels on every face. You push lights against the outside and the piece sits inside surrounded by soft, even illumination. Because the metal sees nothing but white diffusion fabric in every direction, reflections become gentle gradients rather than harsh points.
Light tents work especially well for:
- Highly polished bangles, chains, and lockets
- Pieces with mirror-finish settings where flag placement is impractical
- High-volume e-commerce where speed matters more than fine artistic control
The limitation is that a tent produces predictable, flat lighting. For hero shots where you want drama and depth, flags on an open table give you more control. Use both approaches - tent for e-commerce variants, open set for campaign images.
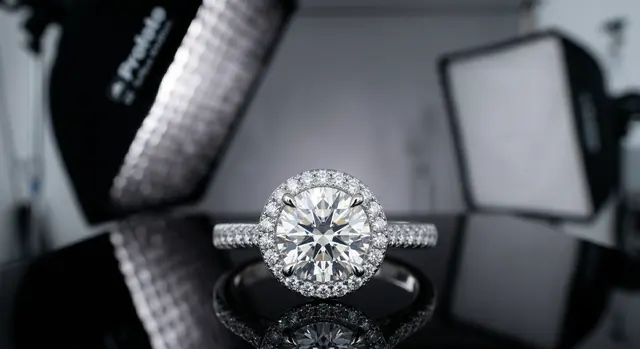
Gemstone Glare and Polarizing Filters
Faceted gemstones introduce a different problem: the flat facet surfaces bounce light at fixed angles, and at the wrong angle they blow out to a featureless white. A circular polarizing filter (CPL) on the lens, combined with a polarizing sheet over the light source, lets you rotate the filter until those surface reflections drop away, revealing the color and depth inside the stone.
This cross-polarization technique requires polarizing film over each light - gel-style polarizing sheets work and cost very little. Rotate the CPL on the lens until glare disappears. Be aware that it also absorbs about 1.5-2 stops of light, so you will need to increase exposure or ISO accordingly.
Control the Room
Even with perfect diffusion and flags, the room itself can spoil the shot.
- Wear dark clothing - a bright shirt reflects in convex surfaces directly in front of the piece.
- Kill ambient light - close blinds, turn off overhead room lights. You want full control over what hits the piece.
- Mind the camera itself - on a very polished flat surface, the dark rectangle of the lens barrel is often visible. A matte black card with a hole cut for the lens eliminates it without adding complexity.
- Slow down before each shot - scan the piece at the shooting aperture in live view, looking for anything that should not be there.
When a Reflection Is Good
Not every reflection is an enemy. A controlled specular highlight on a ring shank tells the viewer the metal is polished; remove it entirely and the ring looks dull or plastic. The goal is not a reflection-free image - it is an image where every reflection is intentional.
A thin, even highlight running along the top edge of a gold band is perfect. A white blob covering the stone’s table facet is not. Learn to distinguish the two, and you will know when to stop chasing the light.
Quick Checklist
- All light sources behind diffusion (no bare bulbs)
- Black flag placed to create a defining dark reflection on metal curves
- White fill card on the opposite side
- Piece handled with cotton gloves or tweezers - no fingerprints
- Room lights off, dark clothing on
- CPL filter + polarizing sheet over lights if gemstones are blowing out
- Live-view scan before every shot
For a deeper look at the lighting setups behind these techniques, see the guide on jewelry photography lighting. If you are setting up a shoot at home, the jewelry photography overview covers the full workflow from surface to export.
Related guides
Keep exploring: the complete guide, gear reviews, pricing, or find a photographer.