Jewelry photography is product photography on hard mode. The pieces are tiny, so you are working at the edge of what a lens can resolve. The metal is a mirror, so it reflects everything in the room. Faceted stones only come alive when light enters and bounces back at the right angle. And the color has to be true, because a buyer comparing a warm-yellow gold chain to a brassy one will simply scroll past. Get the fundamentals right and even a phone produces sellable images. Get them wrong and a $3,000 camera still delivers flat, grey, unconvincing photos.
This guide walks the whole workflow, from the single most important variable (light) through gear, focus, color, and editing, and links to the in-depth tutorial for each step.
Key takeaways
- Soft, controlled light is roughly 80% of the result - everything else is refinement.
- A sharp macro-capable lens matters far more than an expensive camera body.
- Reflections are managed, not eliminated: diffuse the light, then block with cards.
- Accurate white balance is what makes metal and gemstones look real.
- Editing is part of the craft, not a rescue mission for bad lighting.
Why jewelry is so hard to photograph
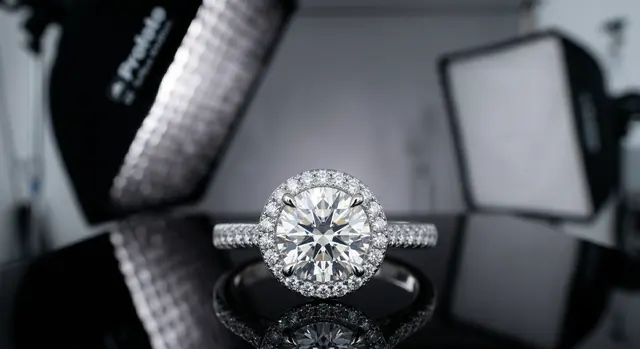
Three physical problems define the entire craft. Reflectivity: polished metal acts like a curved mirror, so it shows whatever surrounds it - including your camera, your hands, and every bright window in the room. Sparkle: a faceted gemstone is an optical machine that has to be lit deliberately to return brilliance and fire, otherwise it reads as a dull grey pebble. Scale: a ring photographed to fill the frame is being shot at near-macro distances, where depth of field shrinks to millimetres and focus becomes critical. Once you understand that these three problems drive every decision, the rest of the workflow makes sense.
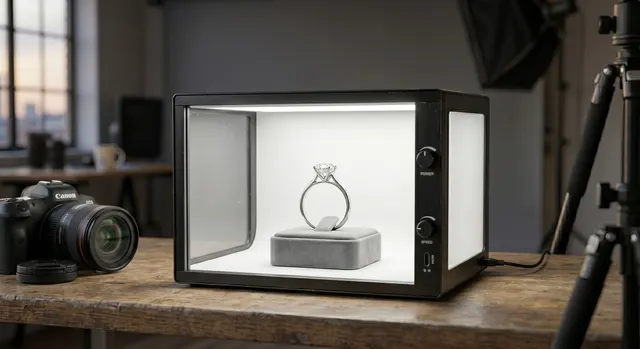
Lighting: the foundation
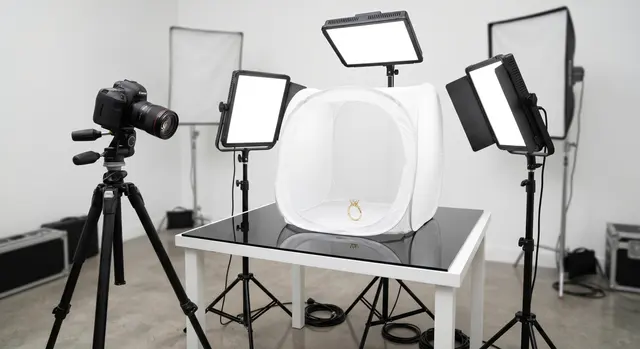
If you fix one thing, fix the light. The goal is a large, soft, diffused source - a softbox, a light tent, or even a window with a diffusion panel - positioned so its reflection on the metal becomes a smooth, gradient highlight rather than a hard hotspot. Big and soft flatters curves and tames reflections; small and hard creates ugly bright dots and blown-out edges. Start with one main light, learn to read its reflection on the piece, then add fill or a second light only when you can name what it is fixing.
Reflections are not the enemy - uncontrolled reflections are. The professional move is to surround the piece with black and white cards (a small "light room") so the metal reflects clean tones instead of clutter. Our lighting setup guide builds a repeatable two-light rig step by step, and the reflections and glare guide covers the card-blocking technique in detail.
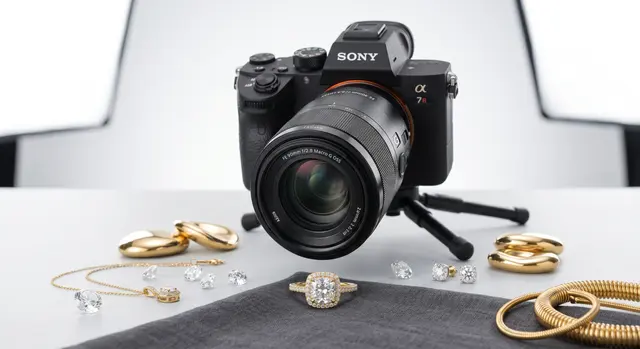
The gear you actually need
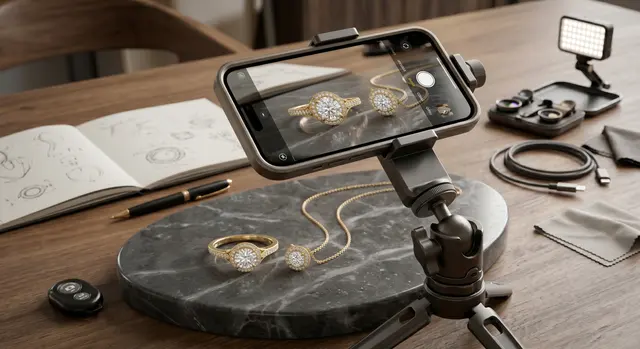
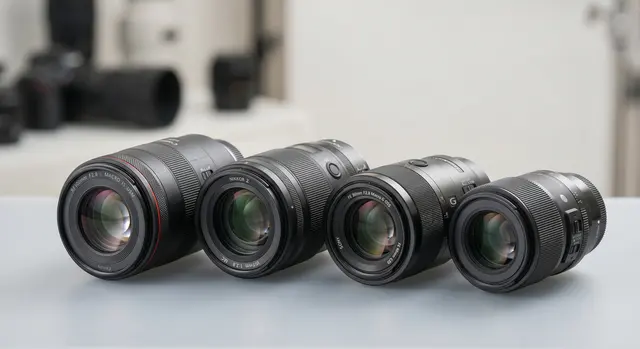
The hierarchy is simple: light first, lens second, camera body last. A sharp macro lens that focuses close and renders fine detail will do more for your images than upgrading from a mid-range body to a flagship. A tripod is non-negotiable, because jewelry is shot at small apertures and slow shutter speeds where any handheld shake destroys sharpness. We break down the specific picks at every budget tier in the camera guide, the macro lens guide, and the lighting kit guide. If you are starting from nothing, the $50 home setup covers the whole workflow on a budget, and you can shoot surprisingly well with just a phone - see the iPhone guide.
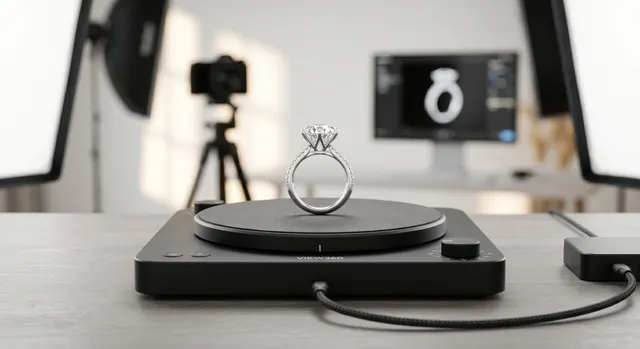
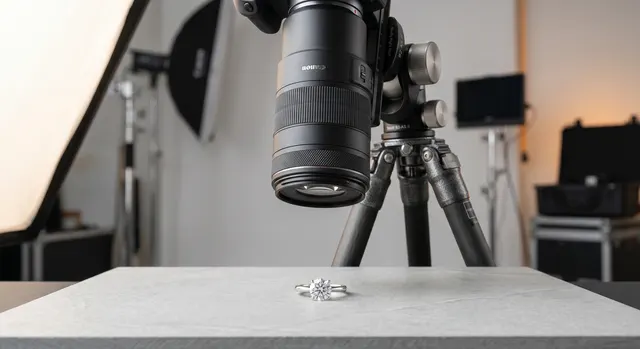
Sharpness: macro, aperture, and focus stacking
At jewelry distances, depth of field is brutally thin - a ring shot at f/8 might have only a few millimetres in focus. You have two levers. Stop the aperture down (f/11-f/16) for more depth, accepting some softening from diffraction, or shoot a series of frames at different focus points and merge them so the entire piece is razor sharp front to back. The second technique, focus stacking, is how catalog-grade product shots get every prong and facet crisp. The macro guide covers getting close cleanly, and the focus stacking guide walks through the capture-and-merge workflow.
Backgrounds and styling
The background sets the entire mood and, on a marketplace, decides whether your listing looks professional. Clean white or light grey is the ecommerce standard because it isolates the product and meets marketplace requirements. Darker and textured surfaces suit luxury and editorial work, where the piece is the hero of a styled scene. Either way, keep it intentional and consistent across a collection. The backgrounds guide covers choosing and lighting surfaces, and the flat lay guide covers overhead styled compositions.
Shooting by jewelry type
Every category behaves differently under light - a faceted diamond, a high-polish gold band, and a layered chain each need their own setup. Jump to the specific tutorial for what you are shooting:
RingsDiamond ringsDiamondsGemstonesEarringsNecklacesBraceletsGold jewelrySilver jewelryWatches
Color and editing
Color accuracy is what separates amateur from professional jewelry photos. Yellow gold should look warm, not brassy; white gold and silver should read neutral, not blue or grey. That starts in camera with a correct white balance - ideally set from a grey card - and is refined in editing. Editing is a legitimate part of the craft: cleaning dust, evening reflections, and matching color, not faking a piece you failed to light. The white balance guide covers getting color right, the AI retouching workflow shows how to scale edits, and a clean piece always edits faster - see cleaning and prepping jewelry.
Selling: ecommerce and marketplaces
Images are the single biggest lever on conversion for online jewelry. Marketplace buyers cannot touch the piece, so the photos carry all the trust. That means consistent angles, a true-to-life hero image, and detail shots that answer questions before they are asked. The Etsy guide covers listing-ready images that win the click; the invisible mannequin technique shows necklaces with shape and drape; and a polarizing filter can tame glare on glossy pieces in-camera.
What a shoot costs, and when to hire out
If you would rather hire than build a studio, it helps to know the going rates. US jewelry photography typically runs about $10-$200 per item, $75-$250 per hour, or $800-$3,000 for a full day, depending on piece complexity, styling, and retouching. The pricing guide breaks this down by shoot type, and you can browse vetted specialists by city in our photographer directory.