Key takeaways
- Prep matters more than technique: a kinked, fingerprinted chain ruins a technically perfect shot before you press the shutter.
- A slightly asymmetric curve reads as naturally worn; a mirror-perfect symmetrical loop reads as staged and stiff.
- Flat lay and hung are two distinct looks that serve different purposes in a listing and are worth shooting both.
- Diffused, even lighting is non-negotiable for chains because every link is a small curved mirror that picks up whatever is around it.
Prep: Untangle and Clean Before You Touch the Camera
No amount of lighting skill rescues a tangled chain or a pendant caked in fingerprints. This step takes five minutes and determines the quality ceiling for every image that follows.
Lay the necklace flat on a clean, lint-free surface and work out any kinks by hand. For fine cable or box chains, a pair of cotton gloves and a toothpick help coax out tightly wound loops without scratching the metal. Once the chain is flat and smooth, wipe it down with a lint-free cloth. For gold or silver, a jeweller’s polishing cloth removes surface tarnish and fingerprints in one pass. For stones and bezels, a dry soft-bristle brush clears dust from settings.
From this point on, handle the piece only by the clasp, or use cotton gloves. The oils from bare fingers are invisible to the eye but will show at macro distance.
Shaping a Natural Curve
The biggest visual difference between an amateur necklace photo and a professional one is the shape of the chain. A perfectly symmetrical U-shape screams “laid on a table”; a soft, slightly offset curve suggests the piece was just lifted off someone’s neck.
Start from the clasp
Place the clasp at the top center of your shooting surface. Let the chain fall naturally on both sides before you adjust anything.
Offset one side slightly
Nudge one arm of the chain a centimeter lower than the other. This small asymmetry is what makes the shape read as organic rather than arranged.
Coax the pendant into position
Settle the pendant at the lowest point of the curve. Use a toothpick or the tip of a closed pair of tweezers to position it face-forward without touching the front surface.
Check from the camera position
Look through the viewfinder or live view before you finalize the layout. Small misalignments invisible to the naked eye are obvious through a lens.
Flat Lay: The Standard Product Shot
A flat lay shot on a clean surface is the workhorse of necklace ecommerce photography. It is fast to set up, consistent across a large catalog, and works reliably as a listing thumbnail.
Shoot from directly overhead on a copy stand or with your camera mounted on a boom arm. The lens plane should be parallel to the surface so the entire chain stays in focus at a moderate aperture (f/8 to f/11 works well for most chains at tabletop scale).
Background choice matters. White card stock reads as professional and clean. A matte grey tile gives silver and white gold more separation. A textured linen or wood surface adds character for handmade or artisan pieces, though it is harder to keep consistent across a catalog. Whatever you choose, commit to the same surface for your entire shoot so the thumbnail grid looks cohesive.
Hung and Suspended: Showing Drape and Length
A hung shot communicates something a flat lay cannot: how the necklace actually falls on a person. Length, drape, and the way a pendant swings are all invisible on a flat surface.
Fishing line suspension
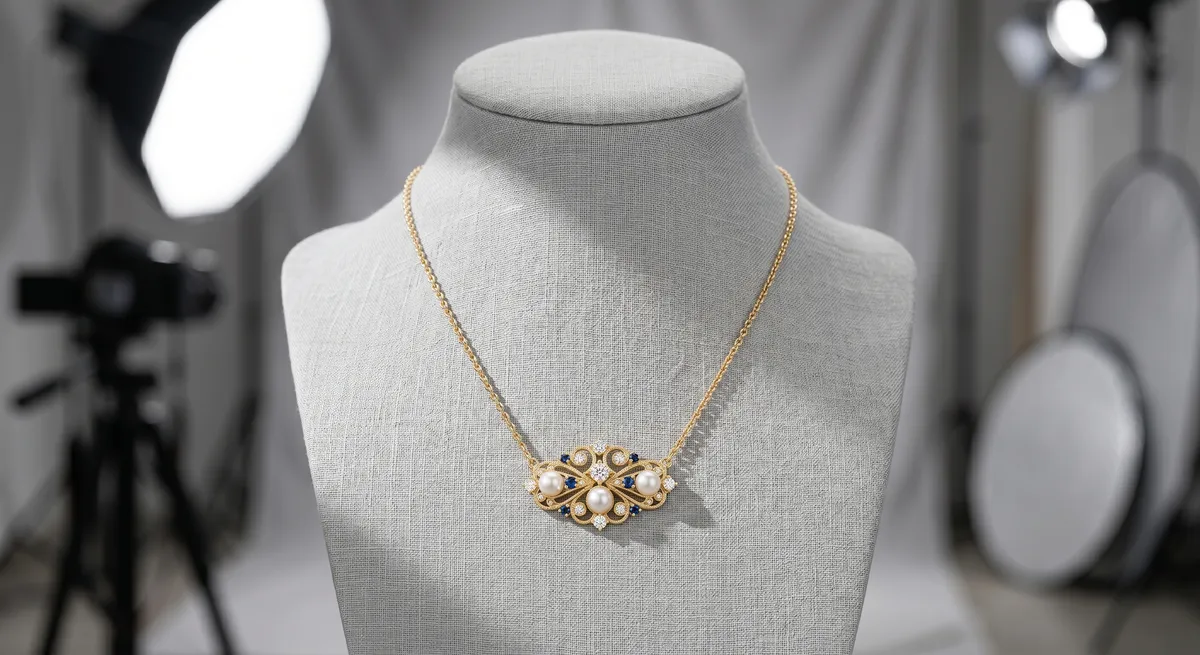
Tie a short length of clear fishing line through the clasp and loop it over a small hook or a horizontal rod above the frame. The line disappears in post with a single clone or heal stroke. This method works for any chain weight.Velvet bust or neck form
A fabric-covered bust holds the chain in its full worn shape and provides scale context. Photograph the piece on the bust, then decide whether to keep the bust in frame as a styling prop or remove it in post.Hanging from a door knob or peg
For casual lifestyle shots, a simple wooden peg or door knob creates a natural background prop. Works well for thicker chains and bohemian styles where a relaxed look is appropriate.On a model
A person wearing the piece is always the most powerful scale and lifestyle reference, but requires coordination and editing time. Shoot on a clean background to keep the focus on the jewelry rather than clothing.Invisible Mannequin: Ghost Effect for Necklaces
The invisible mannequin technique (also called ghost mannequin or ghost form) is used when you want to show the worn shape of a necklace without a visible model or bust in the final image.
Shoot the necklace on a fabric bust or neck form. Then, in post, select and remove the bust, leaving only the chain and pendant floating in their worn shape. This shows scale, drape, and the natural fall of the pendant far more effectively than a flat lay, with none of the production cost of a live model.
The technique requires clean selection work around the chain, which is the most time-consuming part. Fine cable chains photographed against a plain, even background are far easier to mask than thick rope chains shot against textured fabric. A contrasting background color helps: shoot a gold chain against a mid-grey bust rather than a gold or cream one.
Invisible mannequin shots work particularly well for long pendant necklaces, layered chains, and statement pieces where the relationship between length and pendant size is a key selling point.
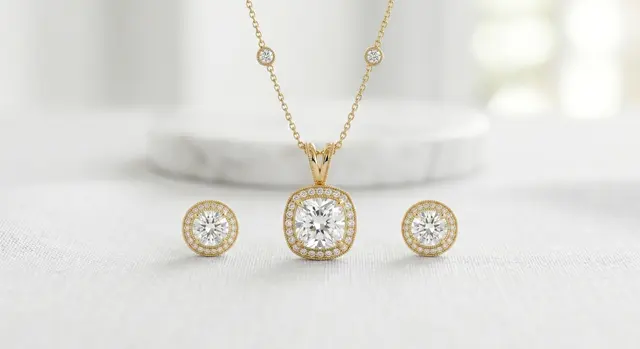
Chains vs Pendants: Different Priorities
A plain chain and a pendant necklace require different emphasis in the shot.
For a plain chain, the texture and link style are the product. Get close enough that individual links are crisp and the construction is obvious. A flat lay shot at a slight angle (rather than dead overhead) often shows the dimensional quality of a chain better than a pure top-down view. Highlight sheen and surface finish with careful light placement.
For a pendant necklace, the pendant is the hero. Frame and expose for the pendant first, then make sure the chain reads clearly without competing. A slightly tighter crop that shows the upper third of the chain plus the full pendant is usually more effective than a wide shot showing the entire chain length, unless length is a key feature.
Lighting and Controlling Glare
Every link in a chain is a curved, reflective surface. Bare or directional light turns each link into a mirror that reflects whatever is around it, producing a speckled, inconsistent hotspot pattern across the chain that looks unprofessional and is difficult to retouch.
The fix is diffusion. Place a large softbox, an overhead diffusion panel, or a light tent between the source and the piece. The goal is to wrap the chain in a large, even source so each link reflects the same soft light rather than a point or hard edge.
For a pendant with a gemstone, a single directional light added from above and slightly to the side can create a catch light in the stone while the diffused fill keeps the chain reading cleanly. The two elements need different treatment and a single well-placed light with a bounce card on the fill side is usually enough to handle both at once.
Avoid positioning reflective surfaces such as walls, shelving, or clothing in the area around the piece. Chains pick up even distant reflections that become distracting in the final image.
For a deeper look at managing specular reflections on metal, see the guide on jewelry photography lighting.
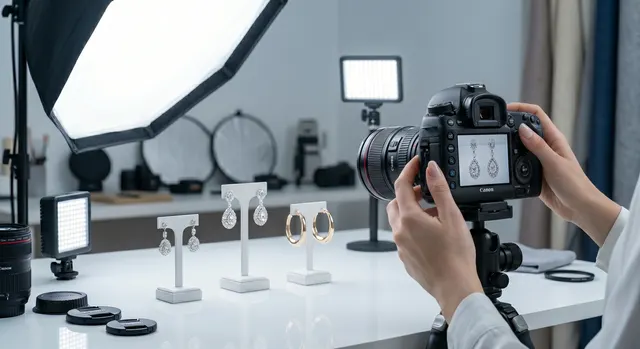
If you are also shooting a full set, see the companion guide on how to photograph earrings for techniques that carry over directly.
For ecommerce-specific shot lists, thumbnail optimization, and background consistency across a catalog, see the Etsy jewelry photography guide.
For the complete workflow from camera settings to final export, the jewelry photography overview covers the full process.
Frequently Asked Questions
How do I photograph a necklace so it looks natural?
Arrange the chain in a soft, slightly asymmetric curve rather than a perfect symmetric shape, and suspend it on fishing line or a bust if you want a worn look.
What is the invisible mannequin effect for necklaces?
You shoot the necklace on a bust or form, then edit out the form so the piece appears to float in its worn shape. It shows scale and drape without a visible model.
Related guides
Keep exploring: the complete guide, gear reviews, pricing, or find a photographer.